Sign in & security
Overview
By default, a Slingshot tenant is set up for multi-factor authentication (MFA), for which Slingshot stores user’s credentials and requires a user to present a time-based one-time password (OTP).
A Slingshot tenant who prefers users to sign in to Slingshot through an existing identity provider (IdP) can integrate SSO authentication with Slingshot instead. To learn more, refer to Configure SSO below.
Multi factor authentication
In a Slingshot tenant set up for MFA, as a new user, you will receive an email from Slingshot to register your user account in just a few short steps.
- On the email, click Create password.ℹ️Note: Only the latest password link is valid. If a password link has expired, either look for the latest email in your inbox, or access your tenant URL and select Forgot password to get a new email. See Forgot password.

- Enter your tenant name included in the email.

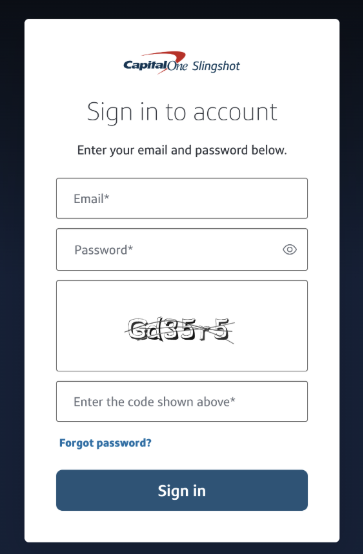
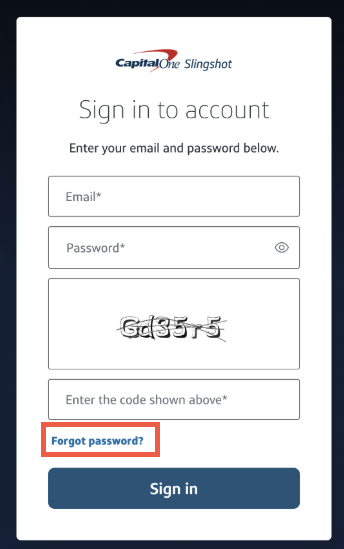
- Sign in to your Slingshot account.
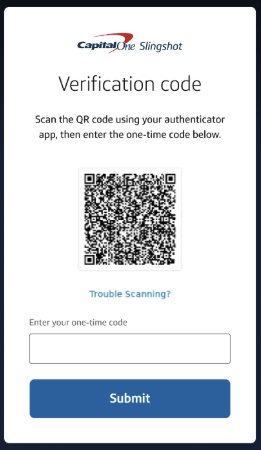
- Set up 2-step verification using your authenticator app.ℹ️Tip: Need an authenticator app? Download one from your mobile app store.
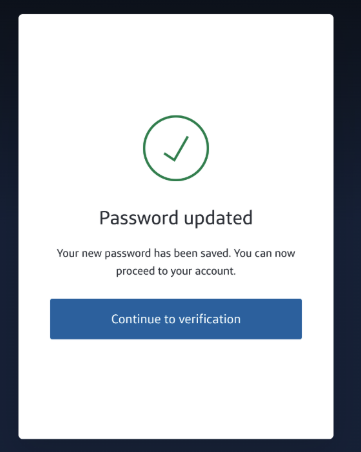
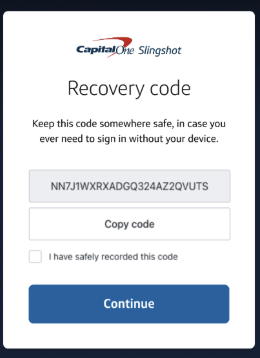
- Save your recovery code in a safe place.
- Done!
Forgot password
A user can reset their password in a few simple steps at any point, even when they have not created a password.
- Select Forgot password.
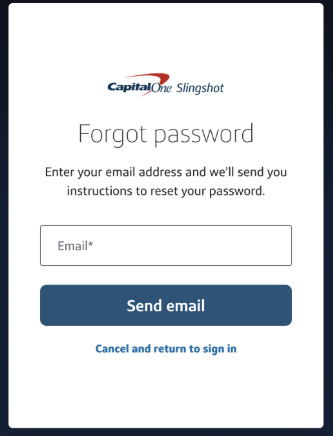
- Enter email address and click Send email.
- Check your email inbox.

- On the email, click Reset password to proceed.
Single sign on
- In a Slingshot tenant set up for SSO, you will be directed to your organization’s SSO page after identifying your tenant.
Configure SSO
Slingshot supports SSO authentication via SAML 2.0 (Security Assertion Markup Language) and service provider-initiated authentication.
Before you begin
Before you start configuring SSO, it is important to know that:
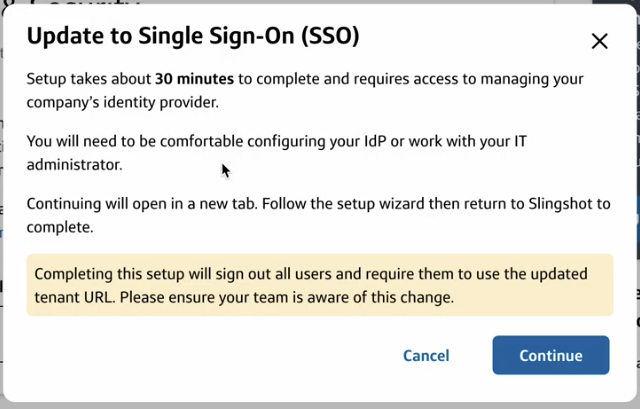
- Setup takes about 30 minutes to complete and requires access to managing your company’s IdP.
- You will need to be comfortable configuring your IdP or work with your IT administrator.
- You will need to ensure your team is aware of the upcoming signing out (as the final step of setup) and tenant name and URL change.
Once SSO is configured, the following will apply:
Completing the setup will sign out all users.
All users will no longer sign in via MFA and will be required to sign in using your identity provider.
Tenant name will have a “sso” suffix. Example:
- When MFA is set up, tenant name is company
- After SSO is set up, tenant name is companysso
ℹ️- When asked to identify the tenant on slingshot.capitalone.com, users need to enter the up-to-date tenant name.
- If the tenant URL was bookmarked before, users will need to update their bookmark. Example:
- When MFA is set up, tenant URL is https://slingshot.capitalone.com/company/auth/login
- After SSO is set up, tenant URL is https://slingshot.capitalone.com/companysso/auth/login
Role for configuring SSO
- Tenant admin (You will need to be comfortable configuring your IdP or work with your IT administrator)⚠️
Important:
- The tenant admin performing the SSO migration should be added to their LDAP group(s) prior to the conversion. This helps ensure accurate connection tests and success of the overall conversion.
- The IdP expert participating in the conversion must be able to configure the IdP, i.e., to create a Slingshot app and to configure its single sign-on redirect URL and audience URI (entity ID).
Step 1: Begin setup
- To configure SSO, go to Configuration > Sign in & Security.
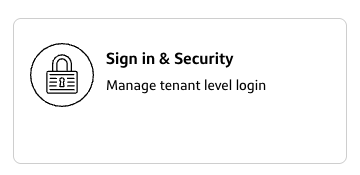
- You will see Update to Single Sign On.ℹ️Note: This is a preview feature. Contact Support to enable or learn more.
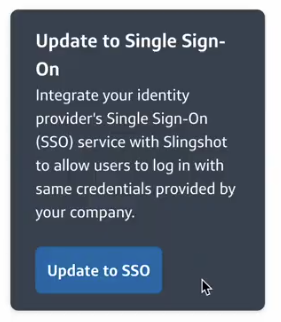
- Click Update to SSO.
- Read the instructions before clicking Continue.
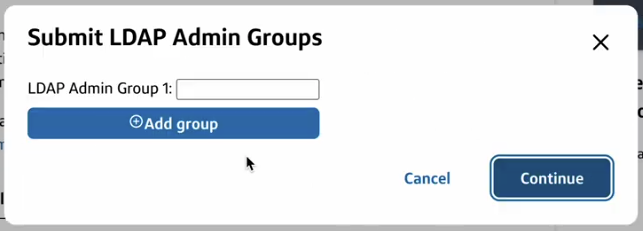
- Enter at least 1 LDAP group name to be the Tenant admin and click Continue. Learn more about Tenant admin in Roles and assigning users in User management.ℹ️Note: LDAP group names must exactly match the value and case in your IdP.
- A new tab will open. Follow the setup wizard then return to Slingshot to complete.
Step 2: Follow the setup wizard
While the exact requirements for configuring SSO vary by IdP, the general workflow for the external setup wizard includes the following:
Select your identity provider:
- Entra ID
- Custom SAML (This option is compatible with IdPs that support SAML, including Okta)
Create an application:
- Follow instructions to create a Slingshot application in your IdP
- You may be asked to copy and paste the following in the corresponding field in your IdP
- Single Sign-On URL (also known as Assertion Consumer Service URL, Callback URL, Redirect URL)
- Service Provider Entity ID (also known as Audience URI)ℹ️
Tip:
- To integrate Slingshot with Entra ID, see Microsoft’s Register an application. Select single-page application (recommended) or web.
- To integrate Slingshot with Okta, see Okta’s Add an application
Configure connection:
ℹ️Tip: In the Auth0 wizard, before creating a (custom SAML) connection, the metadata URL must be correct. If it is incorrectly configured, the process will have to be restarted.- Follow instructions to copy information from your IdP, such as Metadata URL, Domain, Client ID and Client secret.
- For Entra ID, copy the Client secret expiration and send it to Support for tracking.⚠️For Entra ID customers, the sign-in URL (
https://slingshot.capitalone.com/<tenant>sso/auth/login) and the reply URL (https://auth-slingshot.capitalone.com/login/callback?connection=<tenant>sso) must be set correctly so that both the Slingshot login page and the “My Apps” launcher work correctly. - For SAML, the certificate will be handled by the wizard.
- For Entra ID, copy the Client secret expiration and send it to Support for tracking.
- You may be asked to copy and paste the following in the corresponding field in your IdP
- Single Sign-On URL (also known as Assertion Consumer Service URL, Callback URL, Redirect URL)
- Follow instructions to copy information from your IdP, such as Metadata URL, Domain, Client ID and Client secret.
Map attributes:
ℹ️Tip: When configuring SAML claims, thenamespaceprefix may interfere with receipt of claims.
For example, instead ofhttp://schemas.xmlsoap.org/ws/2005/05/identity/claims/firstName, the claim should just befirstName.- Review the required and optional user attributes you must capture through SSO connection
- Set name ID format to “unspecified”
- Map the following attributes:
- User attribute statements:
firstNamelastNameemail
- Group attribute statements:ℹ️When configuring SAML group claims, the claim needs to send a “display name”, not a “group ID”. Some configurations or IDPs default to opaque identifiers. Whatever is sent must match the LDAP groups set previously in Slingshot’s wizard.
groups
- User attribute statements:
Test SSO:
- Click Test connection to open a new tab which redirects you to log in with your IdP
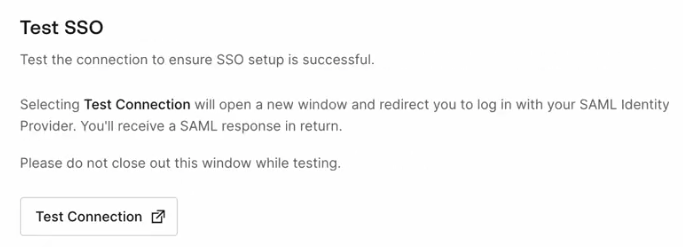
- You will see “Testing complete!”
- Return to the setup wizard to review the test and confirm that the correct attributes are being passed.Example response:
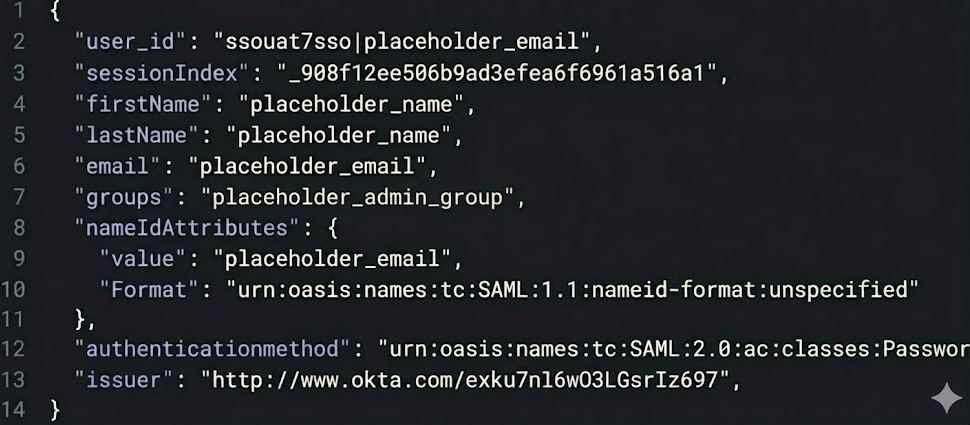 Look for the
 firstName,lastName,email, andgroupsattributes in connection test response. Attributes should show up exactly as described. For example, thefirstNameattribute should appear exactly as “firstName” and not a similar label like “givenName”. If both of the attribute names are present, as in both “givenName” and “firstName” are present, then it is fine (becausefirstNameis still present). - Click Enable connection.
- Click Proceed to allow for SSO access to Slingshot.
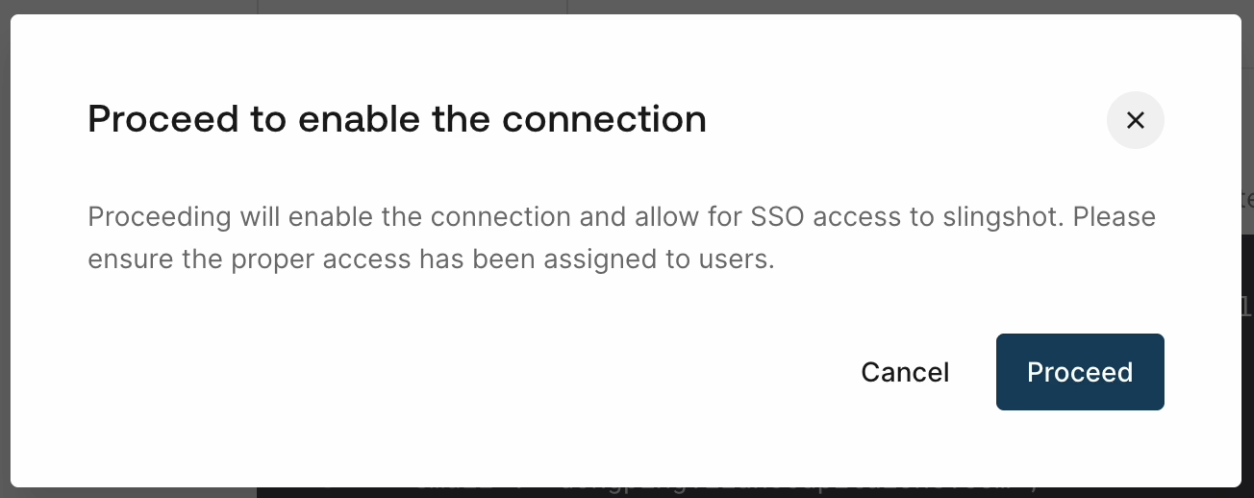
- You will see “The connection has been enabled”.
- Click Test connection to open a new tab which redirects you to log in with your IdP
Step 3: Complete setup
After enabling the connection in the setup wizard, return to Slingshot’s Configuration > Sign in & Security page.
- On the Action required to finish enable SSO banner, click Continue to enable to open the next dialog.

- As a final step, ensure your team is aware of this change before clicking Sign out all users
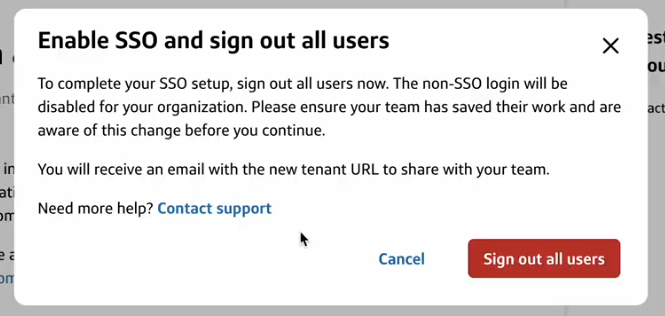
- You will also be signed out
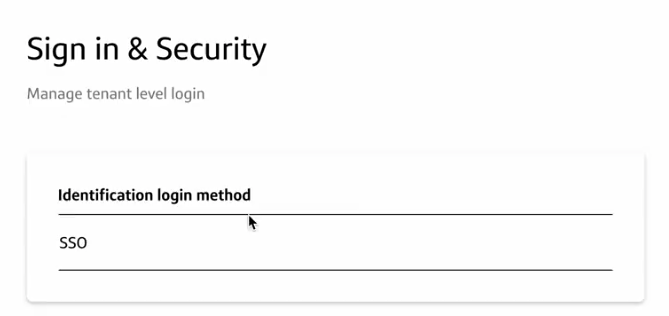
- The next time you sign in with the new tenant name / URL and go to Configuration > Sign in & Security, you will see the identification login method is now SSO.
FAQs
- I want to add or remove some LDAP groups to Tenant admin. How can I do it?
- To map LDAP groups to roles, contact Support.⚠️Coming soon: Alternatively, you can assign users to Tenant admin in User management.
- To map LDAP groups to roles, contact Support.
- I want to add or remove some LDAP groups to other roles. How can I do it?
- To map LDAP groups to roles, contact Support. Alternatively, you can assign users to other roles in User management.
- Our organization uses Entra ID. After we added some users in User management, they are not able to sign in. What can we do?
- This error typically states that your admin has configured the application {appName} (‘{appId}’) to block users unless they are specifically granted (‘assigned’) access to the application. See Assign users and groups to an application and Problems signing in to SAML-based Single Sign-On configured apps. Detailed steps to fix this error can be found in Error AADSTS50105 - The signed in user is not assigned to a role for the application.